T-Shirt Manufacturing Process: Step-by-Step Guide to Automation
27/05/2025What Is the T-Shirt Manufacturing Process in Modern Garment Factories?
The t-shirt manufacturing process is essential in today’s fast-paced garment industry. From selecting fabric to packing, each step can be improved with automation. This guide walks you through the complete production process and explains how automated technology transforms efficiency and consistency.
Step-by-Step T-Shirt Production Process
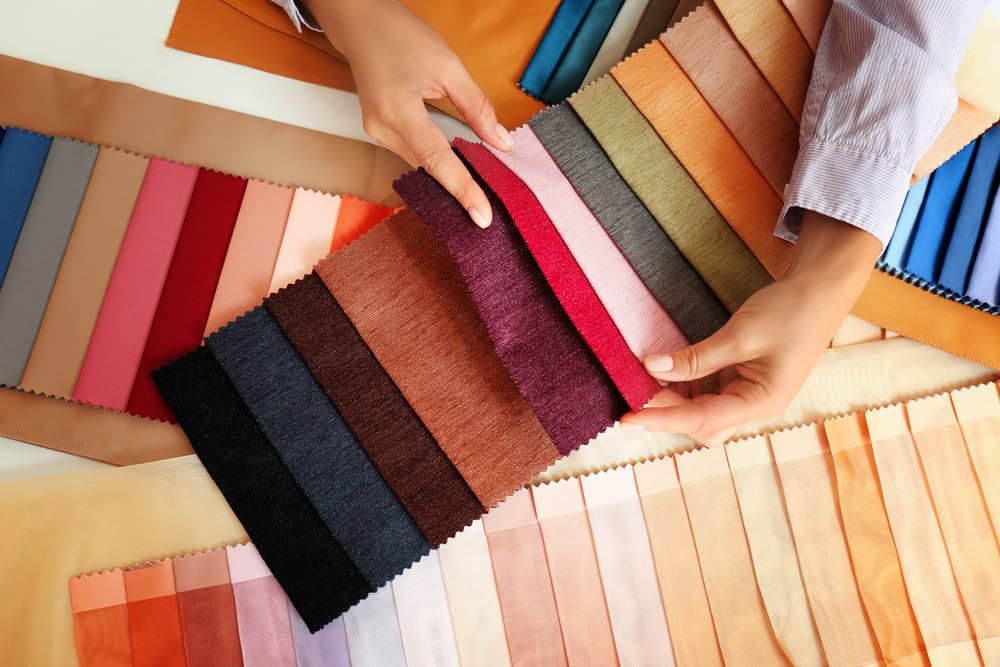
- Fabric Selection
The process begins with choosing the right fabric—commonly cotton (100% or combed), polyester (100%), or cotton-polyester blends (such as 65% cotton and 35% polyester)—depending on the intended comfort, durability, and price point. For the body of t-shirts, these materials provide the necessary softness, breathability, or durability. Below is a breakdown of common fabric types:
| Fabric Type | Key Advantages | Disadvantages |
| Cotton | Good moisture absorption, soft, breathable, eco-friendly | Wrinkles easily, prone to shrinkage at high heat |
| PE (Polyester) | Colorfast, wrinkle-resistant, water-resistant, quick-drying | Poor sweat absorption, may feel less breathable |
| CVC | Combines benefits of cotton and polyester: absorbent, durable, low-wrinkle | More expensive than PE |
| TC | Absorbent, soft, holds shape well, affordable | May pill over time |
| Linen | Highly breathable, absorbs moisture, cool to wear | Wrinkles easily, requires special care |
| Lycra | Excellent stretch, snug fit, heat retention | Low absorbency, may deform over time |
| Rayon | Soft, breathable, absorbent, vibrant color | Wrinkles easily, less durable |
| Modal | Absorbent, soft, resistant to deformation | Relatively expensive |
| Microfiber | Soft, durable, lightweight | Less absorbent than cotton |
| Bamboo | Highly absorbent, antibacterial, UV-resistant, very soft | Expensive |
For round neck collars, neck rib fabric is often used, typically composed of 95% cotton and 5% spandex, offering stretchability and recovery for a snug and durable fit.
- Fabric Relaxation
Before cutting, fabric must be relaxed to prevent distortion caused by tension from knitting, dyeing, or rolling processes. This is especially important for fabrics containing elastane (spandex), as the high elasticity can lead to significant shrinkage or misalignment during cutting. The higher the elastane content, the longer the fabric resting time required—typically, fabrics with 5–10% elastane need to rest for 12–24 hours under flat conditions. Machines like our Relax Machine help remove this tension efficiently, ensuring accurate and consistent cutting results.
- Pattern Making
Pattern making is a crucial step in the t-shirt manufacturing process. Designers use CAD software to create digital patterns, which are then arranged using nesting tools to optimize fabric usage, reduce waste, and maximize cutting efficiency. Proper nesting ensures the most effective layout of multiple pattern pieces on the fabric, especially important in high-volume production.
- Fabric Cutting
Fabric cutting is not just a single step—it includes spreading, labeling, cutting, and quality checking. Traditionally, each sub-process requires separate manual handling, which introduces variability and slows down production. With automation, these stages are streamlined. Using conveyor tables, fabric is transferred seamlessly between steps, reducing human intervention and increasing consistency.Automated fabric cutters precisely cut multiple layers, improving consistency and productivity. 👉 Explore our Automatic Cutter
- Side Seam and Assembly
After cutting, the side seams and sleeves are assembled. Labels are also added during this stage. Our ultrasonic label welding machine can stack and attach up to six labels simultaneously, improving precision and reducing manual labor.
- Neck Rib Attaching
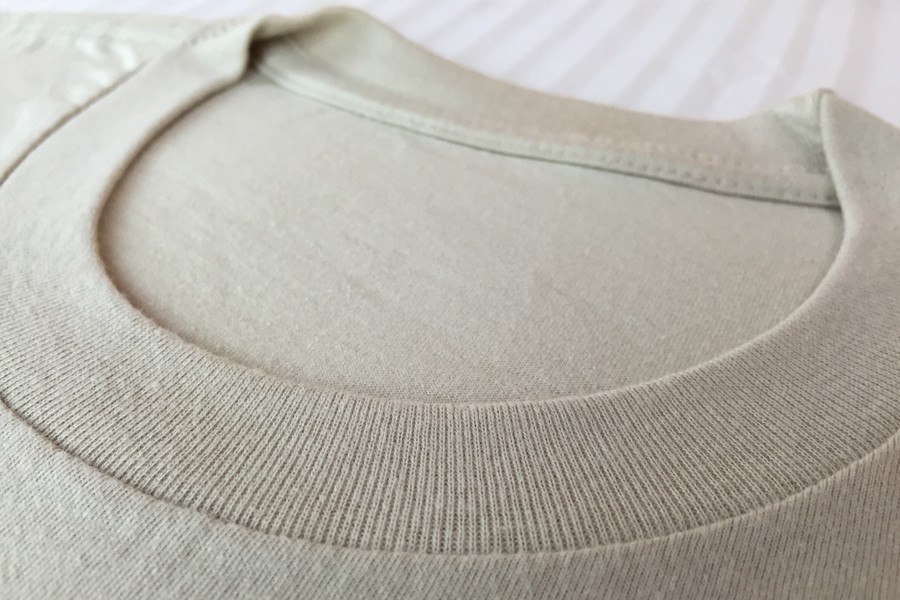
Once the body is assembled, the next step is attaching the neck rib. Our HSM-HYT-1002A Neck Rib Attaching Machine delivers consistent quality and rapid operation. It also pairs well with the HSM-HYT-1001A Neck Rib Joining Machine, which automates the rib joining sub-process, ensuring the rib is prepared before being attached to the garment.
- Bottom Hemming
The hem at the bottom is folded and sewn. Our Bottom Hemming Machine HSM-HYT-1006B performs folding, stitching, and stacking automatically—cutting time and labor - Finishing and Ironing
T-shirts are pressed to remove wrinkles and present a polished look. Tunnel finishing systems handle bulk ironing with minimal labor. 👉 See our Tunnel Finishing Technology - Folding and Packing
Finally, t-shirts are folded and packaged for shipment. Our automatic folding & packing units streamline this step, ensuring consistency.
How Automation Improves the T-Shirt Manufacturing Process
Automation brings significant improvements across the production line:
- Speed: Machines like the HSM-HYT-1002A and 1006B reduce production time by 10–30%.
- Consistency: Automated systems ensure every piece meets the same quality standard.
- Reduced Labor Dependency: Operators require less training; skilled labor shortages are less of a concern.
- Lower Waste: Smart nesting and cutting software optimize fabric usage.
- Scalability: Production lines can ramp up quickly to meet large orders.