Stitch Design Process & PLT/DXF File Export: A Step-by-Step Guide for Programmable Sewing Machines
20/08/2026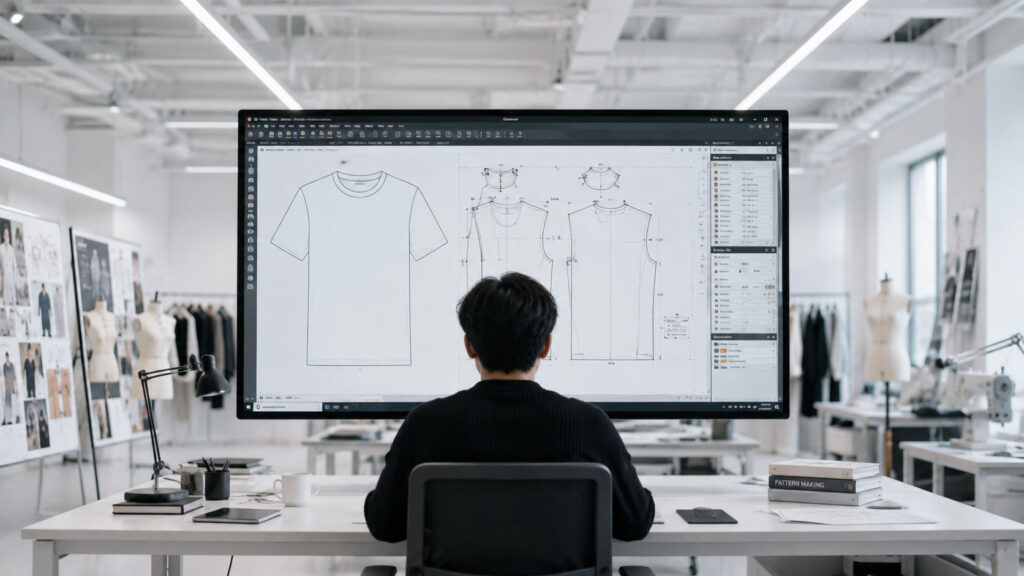
As clarified in this cluster’s pillar article, “programming” a stitch line for a programmable sewing machine (whether SPM or Template Sewing) does not happen directly on the machine. It’s a multi-step process that starts in dedicated design software on a computer. This article walks through each step of that process in detail, helping a factory prepare the right staff and workflow before investing in a machine.
The 7-Step Process: From Software Design to Machine Operation
The 7-Step Process to design a stitch for programmable sewing machine
- Gather Input Information
Collect a physical sample (if available), the technical specifications of the required stitch line (number of edges, shape, length, points that need reinforcement), and the type of fabric/material to be used — fabric thickness and stretch directly affect the stitch parameters that need to be designed.
- Design the Stitch Line in Dedicated Software
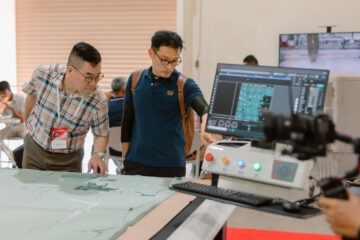
A technician draws the stitch line in dedicated stitch/pattern design software (running on a computer, similar to how CAD software is used in a pattern-design room). At this step, key decisions include: the path shape, start/end points, speed per segment (curved segments need a slower speed than straight segments), and stitch density at points requiring reinforcement.
- Simulate and Check Before Exporting
If the software supports it, run a path simulation to check for geometric errors (unwanted broken paths, incorrect crossing points) before exporting the file — this helps avoid repeated corrections after the file has already been loaded onto the machine.
- Export the File in a Standard Format
Export the design as a PLT file (a plot format widely used in the cutting/plotting industry) or a DXF file (a standard CAD drawing exchange format) — depending on which format the factory’s programmable sewing machine supports.
- Load the File onto the Machine
Transfer the PLT/DXF file to the machine via USB, LAN, or a memory card, depending on the machine model.
- Test-Sew and Fine-Tune on the Machine
This is the only step that actually happens on the machine: sew a test run on sample fabric using the loaded file, then fine-tune the operating parameters (thread tension, overall speed, presser-foot pressure) via the on-machine screen/control panel — not redrawing the stitch line from scratch.
- Save the Confirmed Program
Once the test sew meets requirements, save the program to the machine’s memory so it can be reused for subsequent production batches without reloading the file each time.
For Template Sewing Machines: Designing Around Each Small Sub-Step of a Larger Process
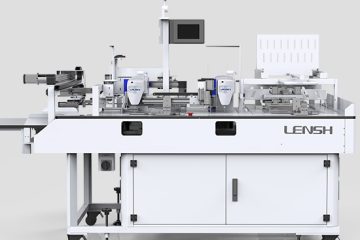
For the Template Sewing type, the design process is somewhat more involved, because one large operation is often broken down into several smaller sub-steps, each of which may need its own stitch/cut design file corresponding to one layer of a multi-layer acrylic template.
Example: the process of sewing a shirt collar
| Step in the Process | Design File Needed | Corresponding Template Layer |
|---|---|---|
| Laser-cutting the two outer collar panels | Cut-path file (DXF/PLT) matching the collar shape | Template layer holding the two outer fabric layers during cutting |
| Placing the two interlining pieces | No separate file needed (a material-placement step) | Template layer holding the interlining in position |
| Sewing the three edges | Stitch-path file (DXF/PLT) for the three edges | Template layer holding all four layers in place while sewing |
📌 Because each small sub-step may require its own design file, close coordination between the software design technician and the template-fabrication team is what makes the process run smoothly — even a small mismatch between the design file and the template’s actual dimensions can cause the stitch/cut path to land in the wrong position.
📖 Read more: “What Is a Template Sewing Machine? How It Really Works and Real-World Applications” and “SPM vs Template Sewing Machine: Understanding the Two Main Types of Programmable Sewing Machines”
Frequently Asked Questions
It varies by machine supplier, but in general these are dedicated stitch/pattern design programs with an interface similar to the CAD software used in a pattern-design room. Ask the machine supplier directly about which software is compatible and whether training is included with the machine purchase.
Yes. A PLT/DXF file can be reopened and edited in the original design software, then re-exported and reloaded onto the machine as a new version — there’s no need to start the design over from scratch for minor adjustments.
Ideally a technician skilled in design/CAD software, preferably someone already familiar with pattern design work in a sample room — the skill set is quite similar, especially if the factory already uses the same PLT/DXF format for both its cutting machines and its programmable sewing machines.
Contact us in Southeast Asia - South Asia:
- Singapore: 7 Temasek Boulevard, #43-01A Suntec Tower One, Singapore 038987.
- Vietnam - Philippines - Thailand - Cambodia: Unit 1, 3rd Floor, Building H, Street 17, Tan Thuan Export & Processing Zone, Tan Thuan Ward, HCMC, Vietnam.
- India: Sy. No. 23/8, Ground Floor, Masthappa Layout, Near Yashas Vidya Kendra School, Somashettyhalli, Chikkabanavara Post, Bangalore - 560090 , Karnataka, India.
- Bangladesh: Mizan House, 6th Floor, Flat 6/A, House 6, Road 2, Lane 1, Block G, Halishahar H/E, Chattogram, Bangladesh.
- Phone: (+84) 0983 309 910 (WhatsApp, WeChat, Zalo)
- Email: marketing@hoshima-int.com
- LinkedIn | Facebook | YouTube: Hoshima International